Popular Keywords
WPC Rhombus Pattern Deck Tile | Diamond Shape Modular Flooring
China's leading WPC manufacturer specializing in high-quality WPC decking, wall cladding and fencing systems with global shipping to 50+ countries. Contact us for wholesale pricing.
Contact Us on WhatsAppAbout wpc rhombus pattern deck tile
WPC Rhombus Pattern Deck Tile Geometric Dynamics
Create mathematical beauty with WPC rhombus pattern deck tiles that enable creative layouts.
Rhombus Features
- Diamond Shape Modules
- Dynamic Geometric Patterns
- Creative Layout Options
- Visual Energy
Pattern Possibilities
Rhombus tiles enable herringbone, basket weave, and random configurations. The angular format creates visual movement that rectangular tiles cannot achieve.
Contact us today for customized solutions tailored to your specific requirements.
Related Products
Square Hole WPC Decking
View Details
Solid WPC Board
View Details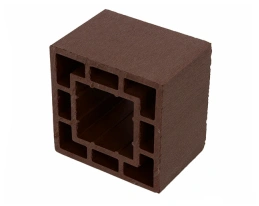
Wooden Joist
View Details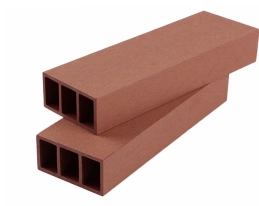
Hollow WPC Square Post
View Details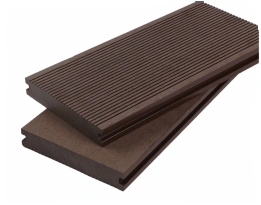
Solid WPC Decking
View Details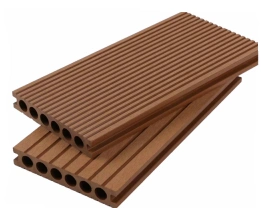
Round Hole WPC Decking
View Details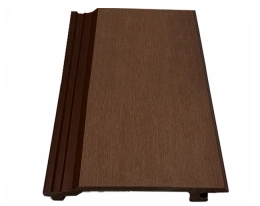
WPC Exterior Wall Cladding
View Details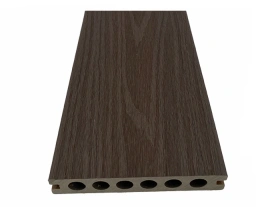
2rd Round Hole WPC Decking
View Details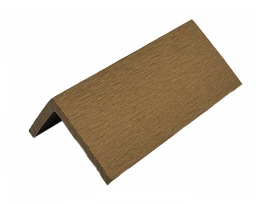
Generation WPC Trim
View Details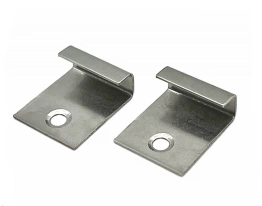
Stainless Steel Starting/Ending Clip
View Details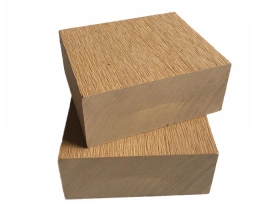
Solid Wood Square Post
View Details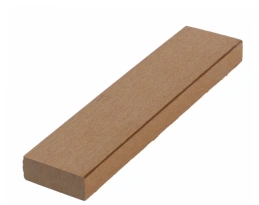
Solid WPC Board
View DetailsExplore Product Categories
Technical Specifications
Installation Guide
Component Reference:
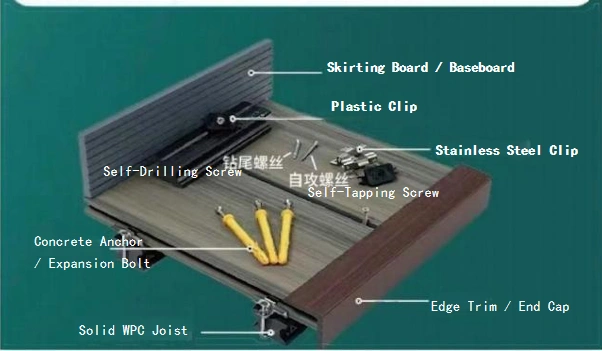
Figure 1: 8 Key Installation Components
Installation Method:
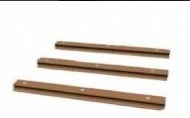
Check if the concrete surface is level before installation. Ensure the subfloor is clean, dry, and structurally sound.
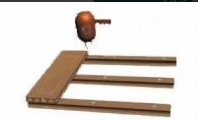
Secure the first WPC board to the joist with screws to prevent slipping. Use self-drilling screws for metal joists or self-tapping screws for wood joists.
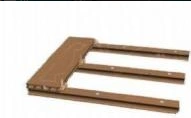
Insert clips into the side grooves of the board and secure to the joist with screws. Do not fully tighten yet - leave slightly loose for adjustment.
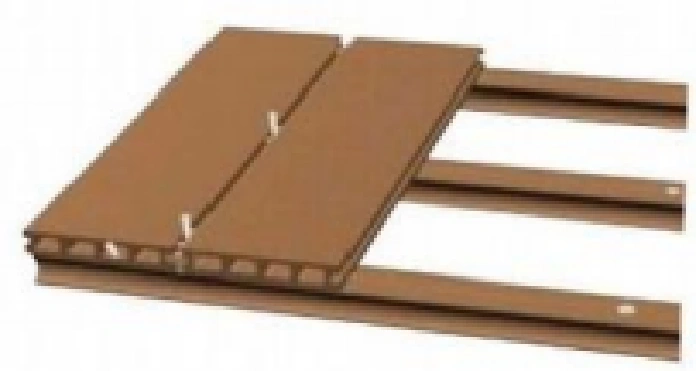
Place the next board, align the groove with the clip, and tighten with screws. Repeat this process for all remaining boards.
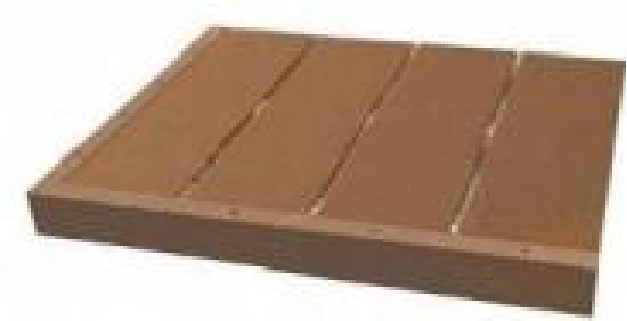
For the last board, secure directly to the joist with screws at the clip positions. Ensure proper spacing from walls for expansion.
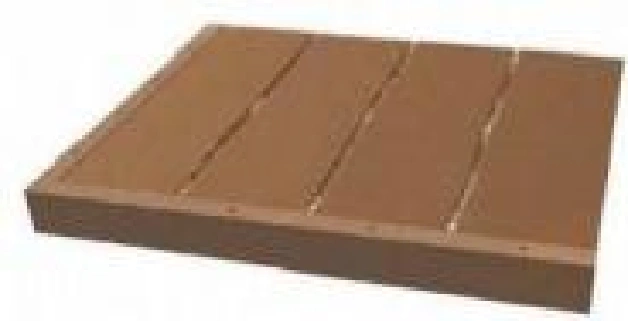
Finally, attach the edge trim (end cap) to cover the board edges, securing with screws. Install skirting board along walls for a finished look.
Important Installation Note:
Pre-drill all holes before inserting screws for all WPC products to prevent material splitting and ensure proper fastening.
Standard Hardware Requirements (per sqm):
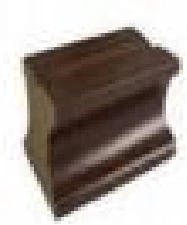
Figure 8: Hardware quantity reference
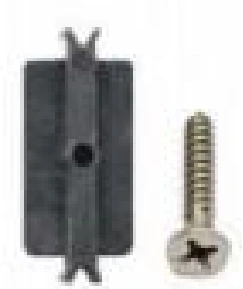
Figure 9: Hardware components detail
Frequently Asked Questions
What is the difference between WPC and traditional wood decking?
WPC decking offers superior durability, weather resistance, and requires minimal maintenance compared to traditional wood. It won't rot, warp, or splinter, making it ideal for outdoor applications.
How long does WPC decking last?
Our WPC products come with a 15-25 year warranty. With proper installation and minimal maintenance, they can last even longer than traditional wood decking.
Is WPC decking environmentally friendly?
Yes! Our WPC products are made from recycled wood fibers and plastic, reducing waste. They are also 100% recyclable at the end of their lifespan.
What is the minimum order quantity?
We offer flexible MOQ options starting from 500 square meters for standard products. Custom orders may have different requirements.
Our Factory